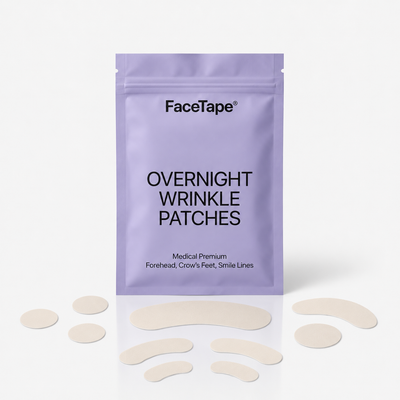
Getting a natural result starts with preparation
The biggest difference between a face tape application that looks natural in the morning and one that looks obvious usually comes down to skin preparation and placement the night before, not the tape itself.
Step one: start with clean, dry skin
Adhesive holds best on skin that is free of oil, moisturizer, and makeup. Cleanse your face as part of your evening routine, pat it fully dry, and wait a minute or two before applying any tape so there is no residual moisture from your night cream.
Step two: choose your placement
Jawline and lower face
For a subtle jawline lift, place the tape at a slight upward angle from just below the ear toward the chin, pulling gently as you apply.
Under the eyes and outer corners
For the eye area, use smaller trimmed pieces and apply with light tension, angling slightly upward and outward.
Forehead
For horizontal forehead lines, apply the strip flat, without pulling, to hold the skin in a smoother resting position overnight.
Step three: blend the edges
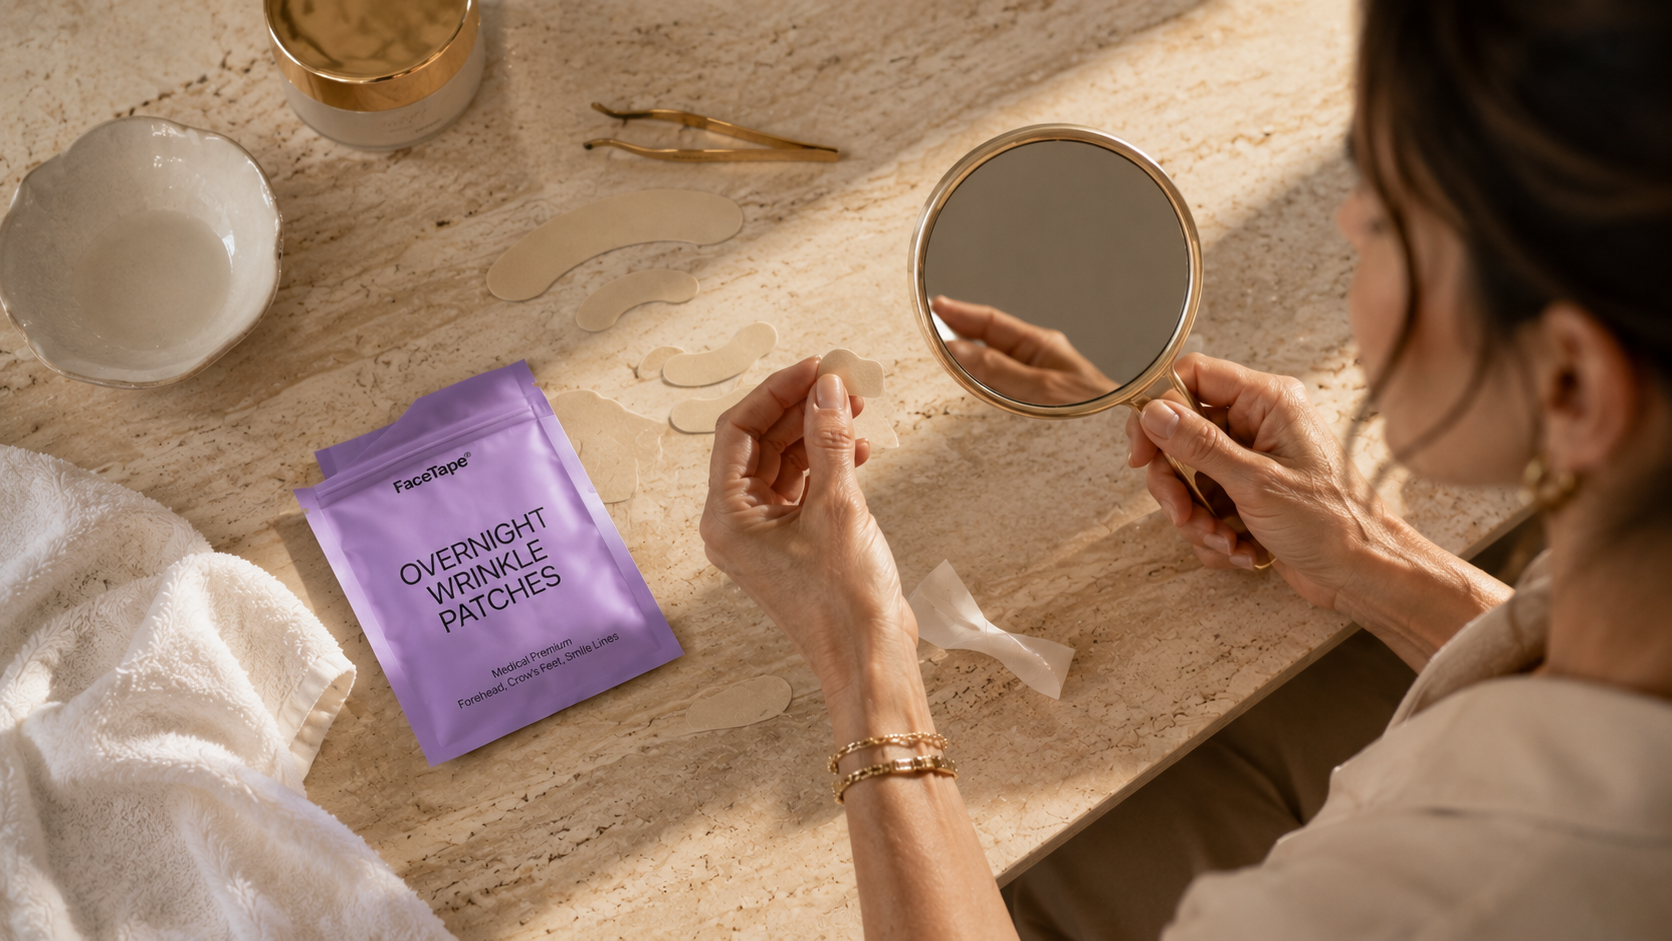
Press the edges of the tape down firmly so they sit flush against the skin before you go to sleep. This is the step most people skip, and it is the one that prevents the tape from lifting or shifting overnight.
Step four: let it work while you sleep
Once applied, the tape stays in place through the night, holding your skin in a smoother position during the hours it would otherwise be pressed into a pillow.
Removing it in the morning
Peel slowly in the direction of hair growth, and use a gentle oil or micellar water if there is any resistance. Do not rip it off quickly, which can irritate the skin.
Practice makes it invisible
Most people need two or three nights before placement feels natural. Once you find your angles, applying FaceTape before bed takes less than five minutes.



Leave a comment
This site is protected by hCaptcha and the hCaptcha Privacy Policy and Terms of Service apply.